Symptoms:
Dashboard shows an error: Charging system fault detected. Battery warning lamp turns on.

Diagnose vehicle with scanner:
Displayed an fault code P0D33-11.
Fault code P0D33-11 on Land Rover (and Jaguar) vehicles typically refers to “DC/DC Converter Enable Circuit – Circuit Short to Ground”. This triggers when the 48V-12V mild-hybrid system detects an excessive electrical draw or a short circuit in the converter output, which often causes a “Stop/Start System Fault” or “Charge System Fault” message on your dashboard.


How to repair Land rover DC/DC converter?
Land Rover DC-DC Converter Location:
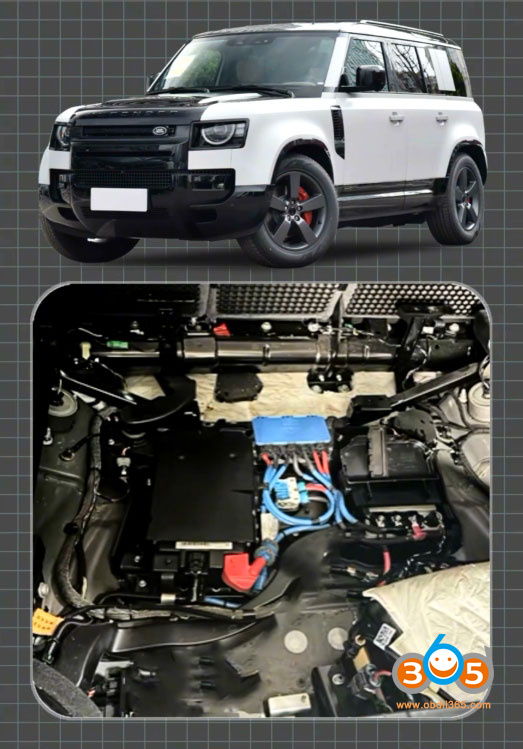
Land Rover Defender: DC-DC module is located under the rear cargo floor cover.

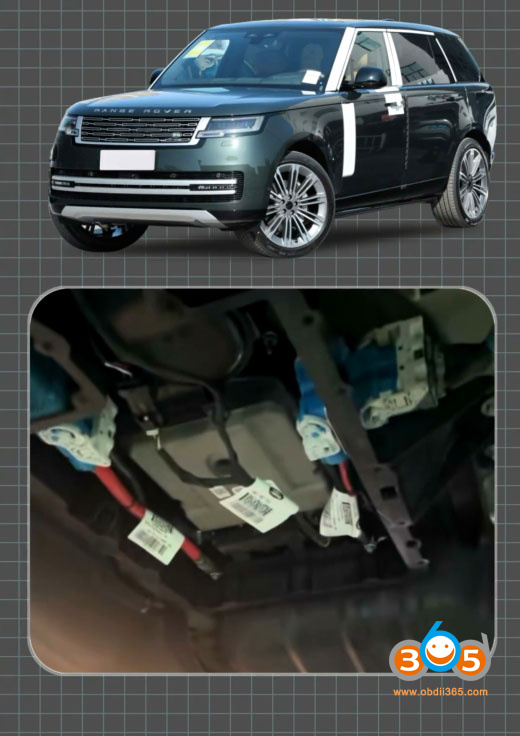
Range Rover & other models: Module is mounted on the right-hand side of the underbody chassis.

Removal & Inspection:
Remove the DC-DC converter module from the vehicle.
Refer to the pinout diagram and verify signal/data streams using the appropriate diagnostic equipment.

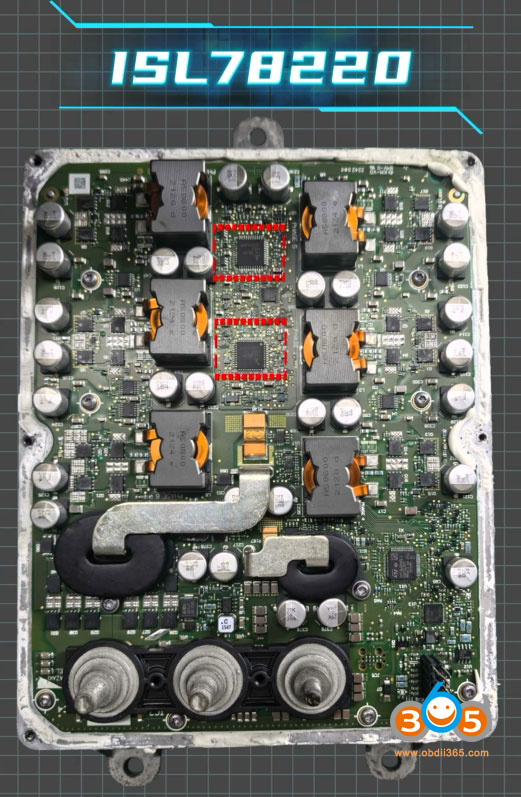
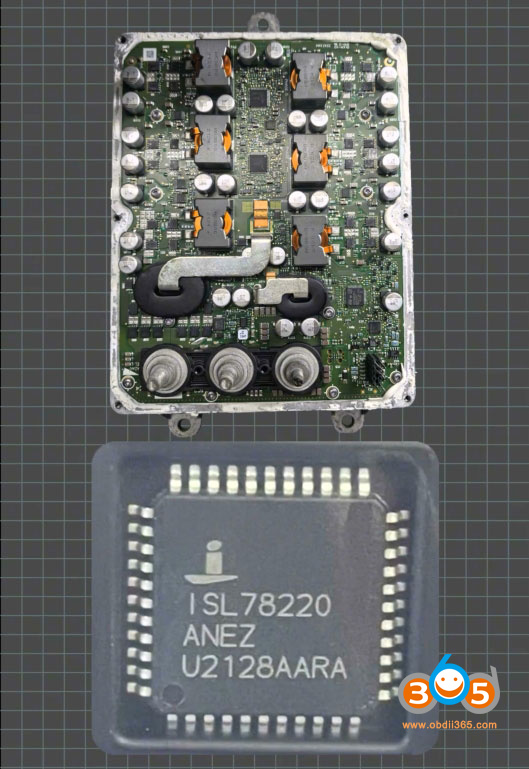
Open the DC-DC module housing and inspect the two current-sensing ICs (ISL78220) for signs of short-circuit or internal breakdown.
If either IC is shorted, replace with genuine NXP components.


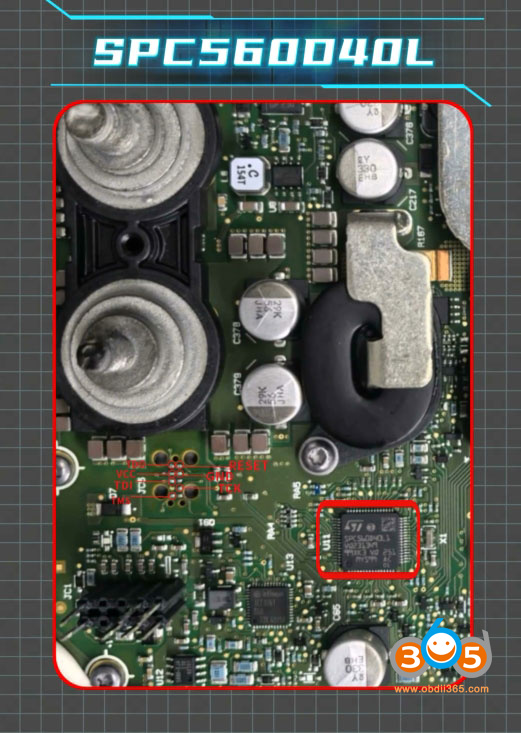
Then flash the main MCU processor (SPC56004L). Here comes the pinout to CG FC200 programmer.
Solder 7 wires to the DC-DC board:
TDO
VCC
TDI
TMS
RESET
GND
TCK
CG FC200 will read the DC/DC SPC56004L MCU data. Need modify data manually. Then write the modified MCU data back to DC/DC converter.

Post-repair, run full system diagnostics to verify normal operation.
If the alternator/charging system outputs normally but the vehicle experiences battery drain (e.g., 12V battery goes flat overnight), perform the following:
Check the transistor within the module for a short circuit as shown in the diagram.
If a short circuit is detected, replace the faulty transistor immediately – this will resolve the leakage problem.

http://blog.obdii365.com/2026/07/06/repair-land-rover-dcdc-converter-with-cg-fc200/